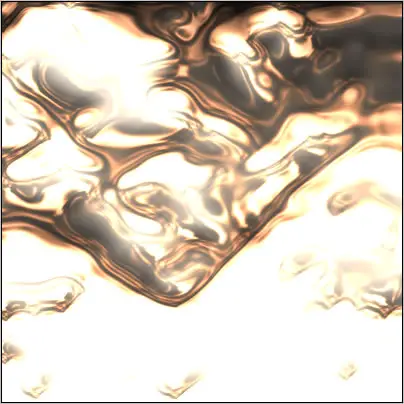
Chrome Effect
Find out how to create a nice looking Chrome effect in photoshop.
Step 1: Create a new document with 400x400 pixels with white background.
Press 'D' on your keyboard to reset your foreground and background color to the default.
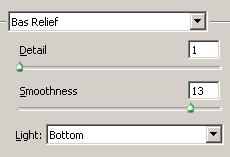
Step 2: Go to Filter> Render> Clouds and then go to Filter> Sketch> Bas Relief and use these settings:
Step 3: Duplicate the background layer and then go to Image> Adjustments> Invert or press Ctrl+I to Invert the background copy layer.
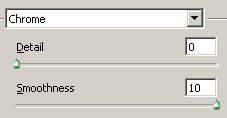
Step 4: Now it's time to create some chrome effect, so go to Filter> Sketch> Chrome and use these settings:
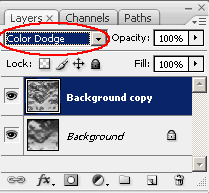
Step 5: Set the blending mode to 'Color Dodge'.
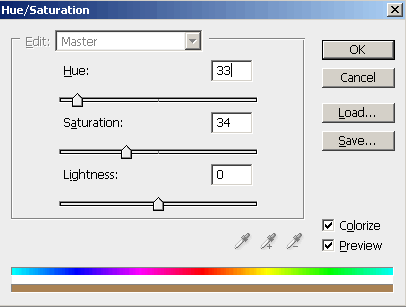
Step 6: In the final step, apply some color so go to Image> Adjustments> Hue/Saturation or press Ctrl+U and apply
these settings:
Here's is the final result!
